
If you’ve ever inserted an aerial photo or an old scanned site plan into LayOut, you might have wanted to give it a specific scale on the page. My favorite technique for doing this uses the Clipping Mask feature.
Step 1
Choose File > Insert... to insert a raster image into your LayOut document. Find a known measurement somewhere on your image. This known measurement can be anything: a scale bar (if you’re lucky); the length of a fence or sidewalk; or even the roofline of a building. It’s important that you find something that’s relatively large and that whose length you already know. You’ll use this portion of the image as a “benchmark” to size the entire image to a specific scale.
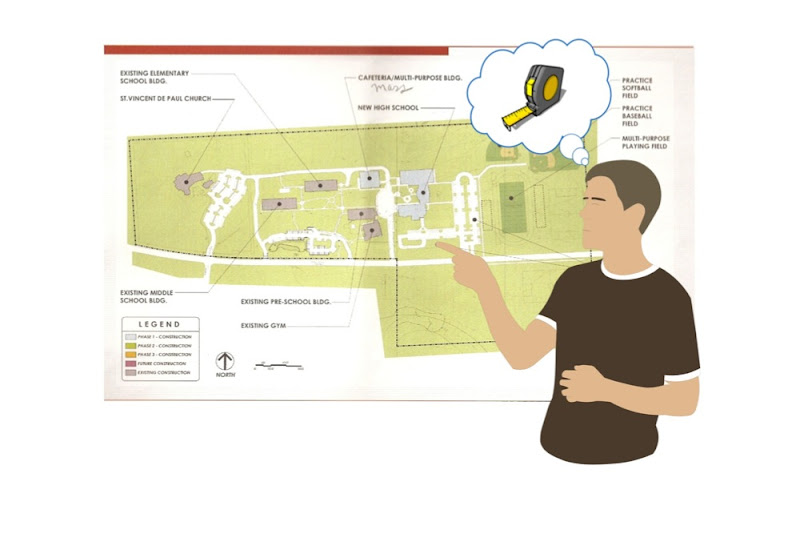 In my example, a scale bar was included in my image; this makes it pretty easy to use as a benchmark.
Step 2
Figure out what scale you’d like to give your inserted image. Keep in mind how the scale will impact the size of the image and how that image will fit on your page.
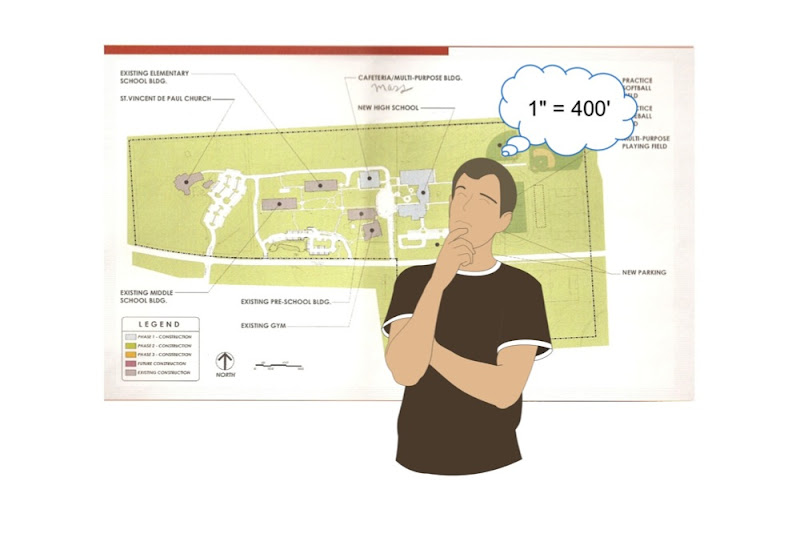 For this image, I’m going to use 1” = 400’ (1:48) scale. This should fit nicely on an 8.5 x 11 sheet of paper.
Step 3
Create a rectangle around the “benchmark” portion of your image. Use the Rectangle tool to do this, and make sure it has no fill (so that you can see through it.)
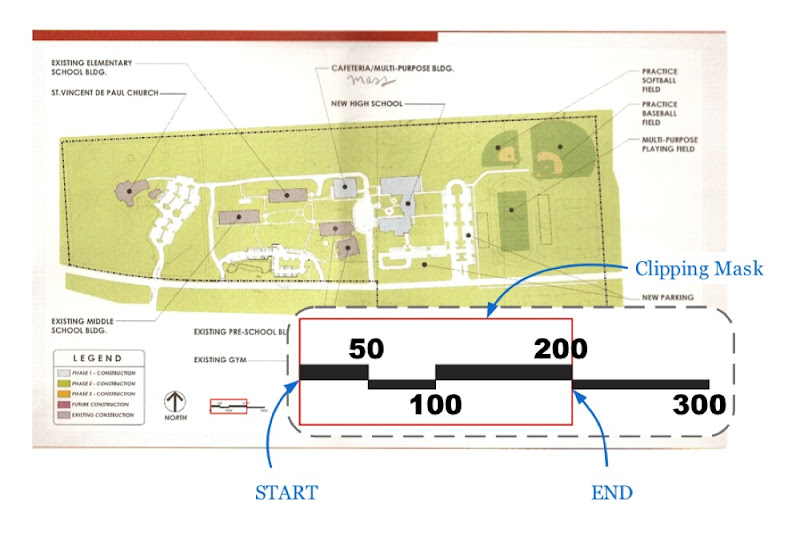 This scale bar only goes to 300’, so I’m going to use the 0’ - 200’ as my benchmark. 200 is half of 400, which makes the mental math easier to do.
Step 4
Select both your rectangle and your image and choose Edit > Create Clipping Mask. Select the resulting crop and give it a visible stroke so you can see its boundary.
 I color the clipping mask to make its border easier to see.
Step 5
Somewhere on your page, use the Line tool to draw a line whose length corresponds to the scale of the image you’re working on.
To draw a line, click to start drawing, move your cursor in the direction you want the line to go, type the length you want and hit Enter.
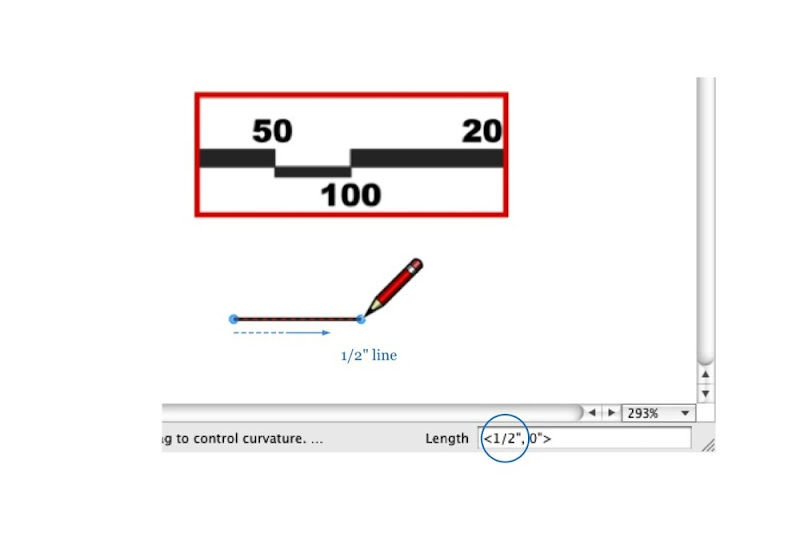 Since I want a scale of 1” = 400’, and my “benchmark” is 200’ feet long, I draw a horizontal line which is one-half inch long (1 inch divided by 2).
Step 6
Move your benchmark, snapping its lower-left corner to the left endpoint of your line. Be sure that Object Snap (Arrange > Object Snap) is turned on, or snapping won’t work properly.
 I snap my benchmark to the left endpoint of my line.
Step 7
Scale your benchmark so that it’s the same length as the line. With your benchmark selected, hold down the Shift key and scale it until it snaps to the right endpoint of your line. As long as you hold down Shift, your selection should scale proportionately.
 I scale my benchmark to the right until it aligns and snaps to the end of my line.
Step 8
Select the benchmark and choose Edit > Release Clipping Mask. Delete the rectangle from Step 3, and the line you drew in Step 5, and you’re done. Voilà! You’ve set your image to a specific scale.
 Image set at 1” = 400’ (1:48) scale and positioned on a letter-sized landscape sheet.
This may seem like a lot of steps but it’s actually pretty simple. Have a look at the following silent movie to see how it’s done.

6 comments :
I'm a bit confused. How is this different to if I just used the Tape Measure tool to measure a known length in the raster image, and then typed in a new value so that it asked me if I wanted to re-scale the model.
This is how I normally scale up my drawings - how is this technique different, or am I missing something?
Nice presentation but I'm a bit confused too. There are 12" in a foot so 1"=400' must be 1:4800 scale - not 1:48. Let me recommend the metric system to you all. It really is much easier.
Indeed. I regularly curse the day my forefathers (and mothers) ever came up with the daft idea of inches and feet.
Just to prove Palladio's point, even (s)he's made an error - in fact an inch is denoted by a " and a foot only by a '.
Not sure why you use layout and do it in such a round about way. Why not import the plan in SketchUp rescale and export to Layout and then use the array of different scale options in the SketcUp view tab?
3DPonder
Interesting technique. Another way of doing this is simply to set the dimension tool to a spesific scale, then draw a dimension to a known scale on the imported image. Then rescale the image so the known figure corresponds with the dimension value.
gee chris you are not selling sketchup with that long winded approach!
I only just started using layout and worked out all you have to do is measure a known dimention with the line tool, divide your desired dimention by this and then scale your image by this scale factor (start scaling tnen type in the dimention and layout completes for you!
Post a Comment